

Saved Layouts, Custom Presets, CSS & Import
These four sidebar screens are where you manage the things you’ve created and apply finishing touches.
Saved Layouts
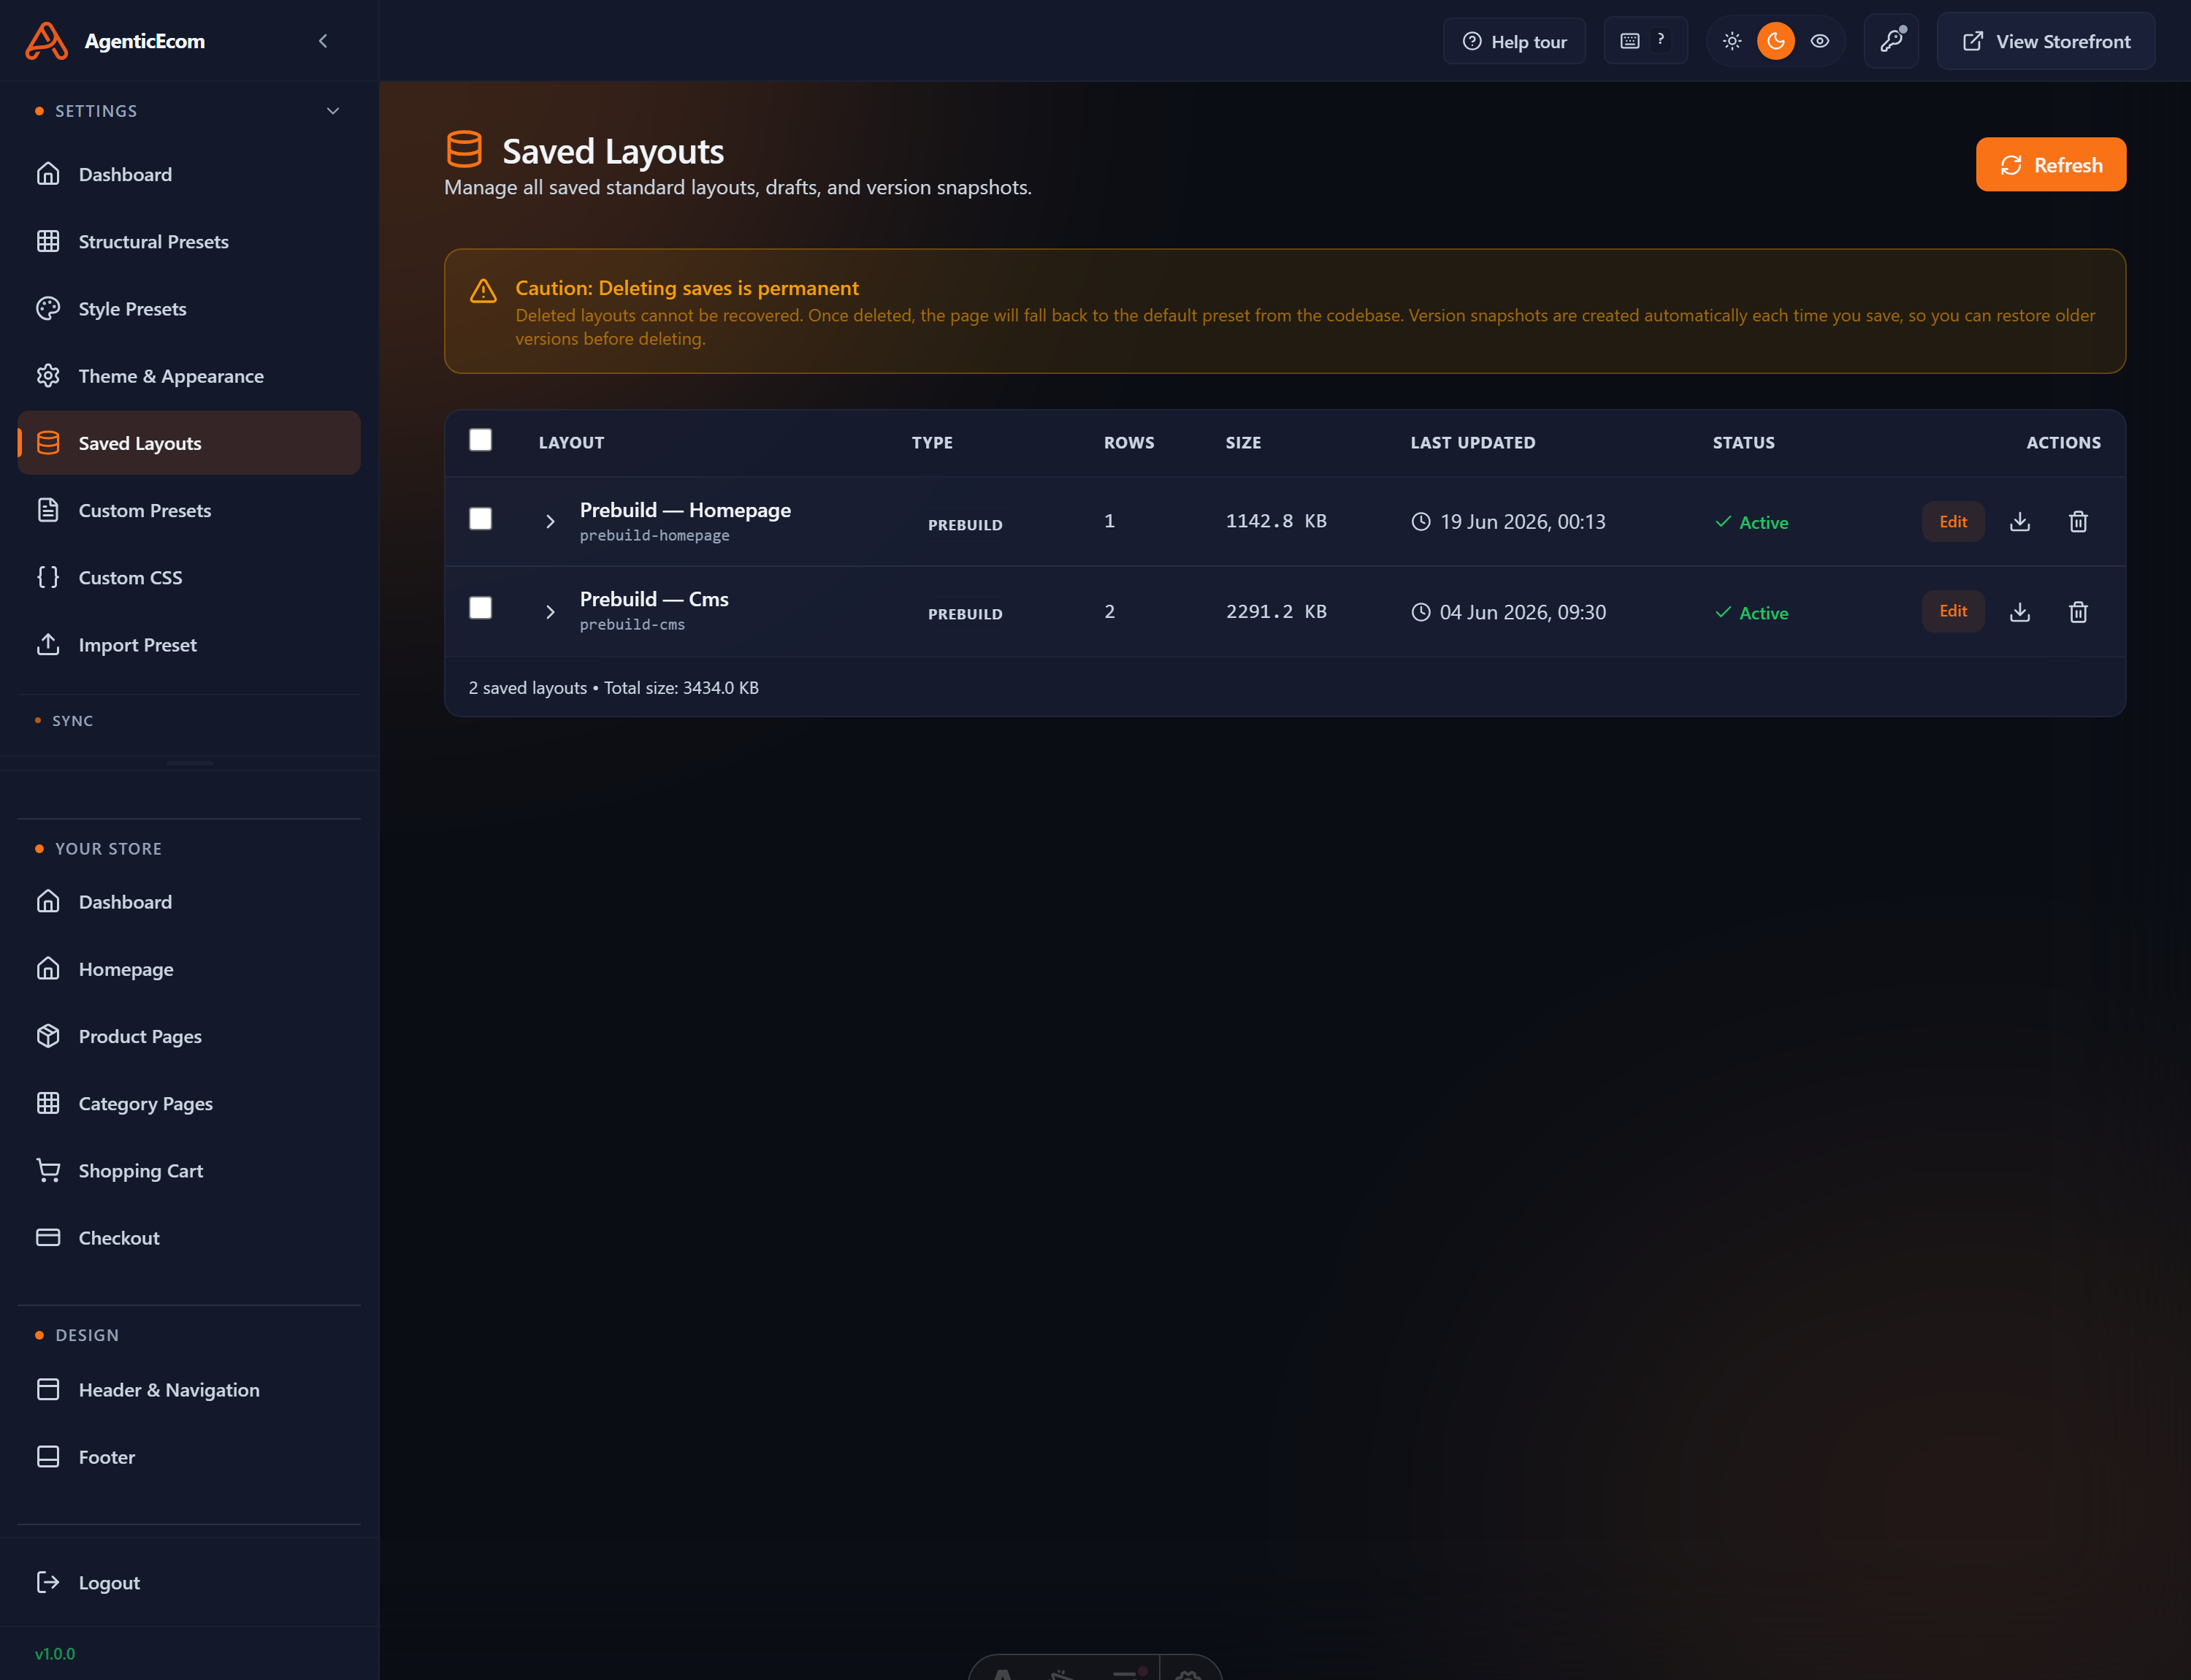
Section titled “Saved Layouts”Every time you Save as draft or Publish in the page editor, a version is kept. Saved Layouts lists them so you can:
-
Open a saved layout back in the editor to keep working on it.
-
Publish an older version to roll back to it.
-
Delete versions you no longer need to keep the list tidy.
Custom Presets
Section titled “Custom Presets”The Custom Presets screen lists the presets you have created (across structure, style and theme), so they’re separate from the built-ins. The table is filtered to show only your custom entries — built-in presets are managed on their own screens.
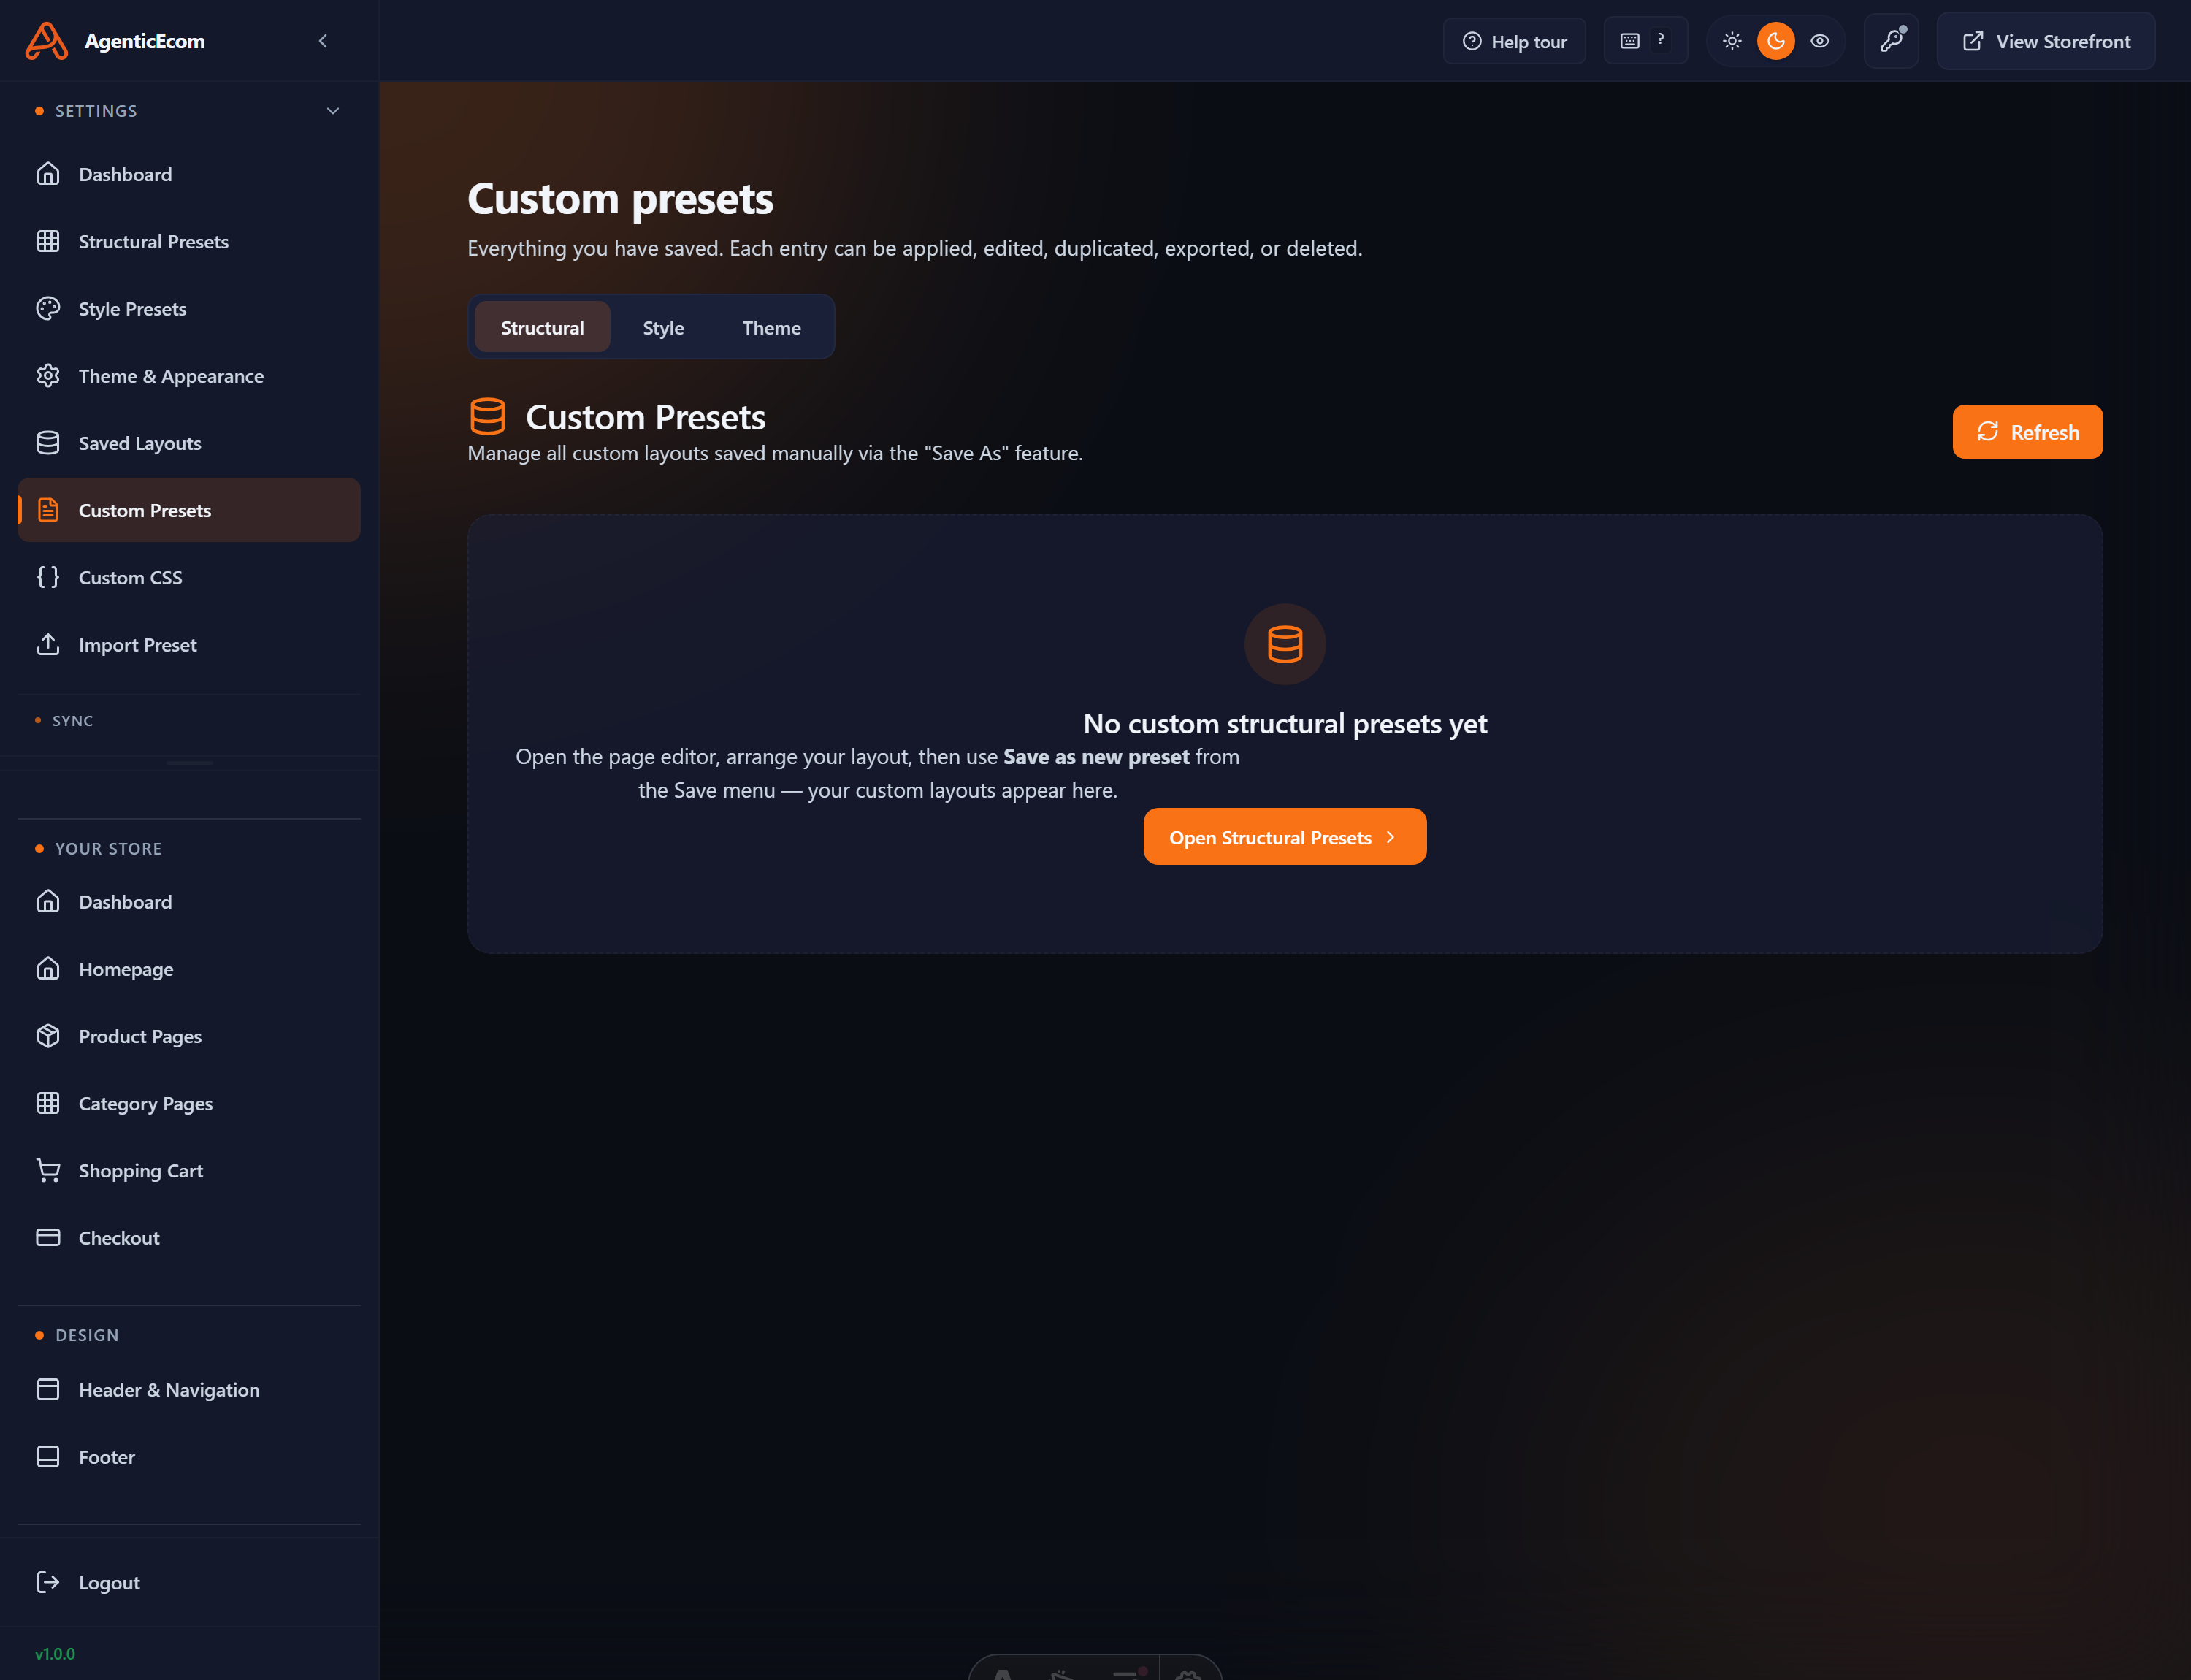
From here you can re-open, re-apply or delete any preset you made. Remember: applying a preset still needs a Prebuild to go live.
Custom CSS
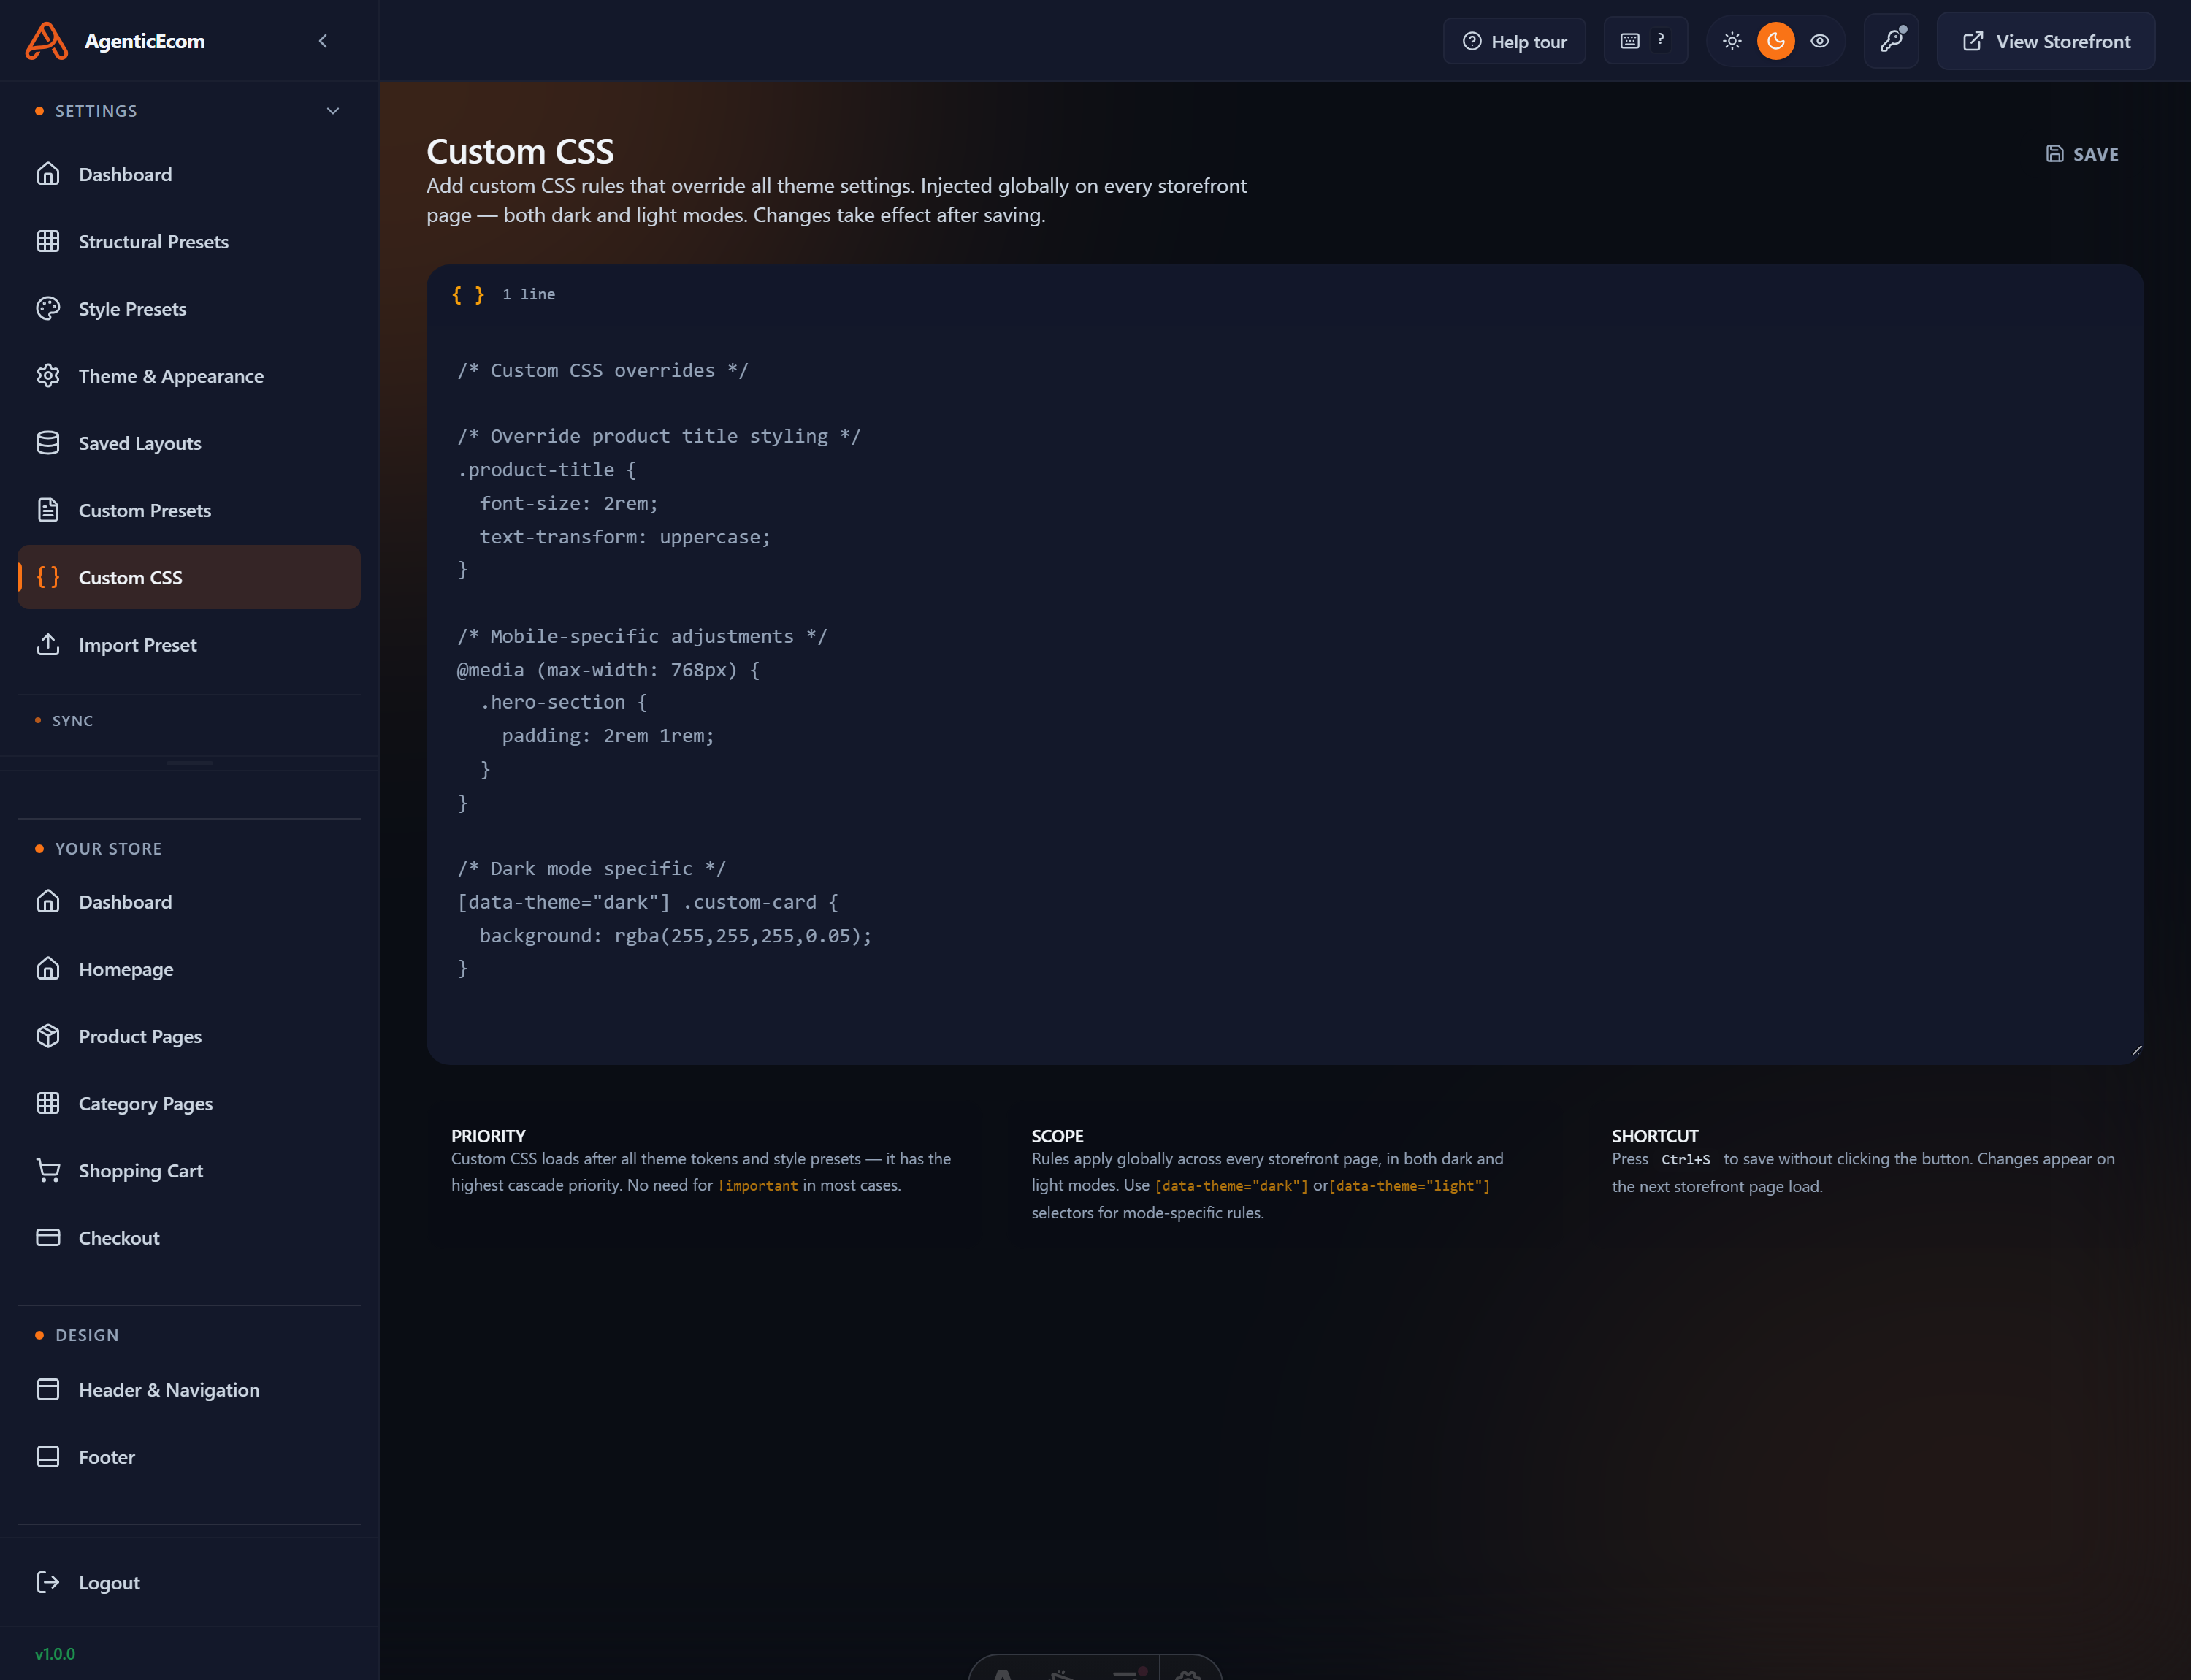
Section titled “Custom CSS”For fine adjustments the presets don’t cover, Custom CSS lets you add raw CSS that loads site-wide.
-
Open Custom CSS.
-
Add your rules. Prefer the theme/style variables where possible so your CSS stays in step with colour and shape changes.
-
Save, then Prebuild.
Import Preset
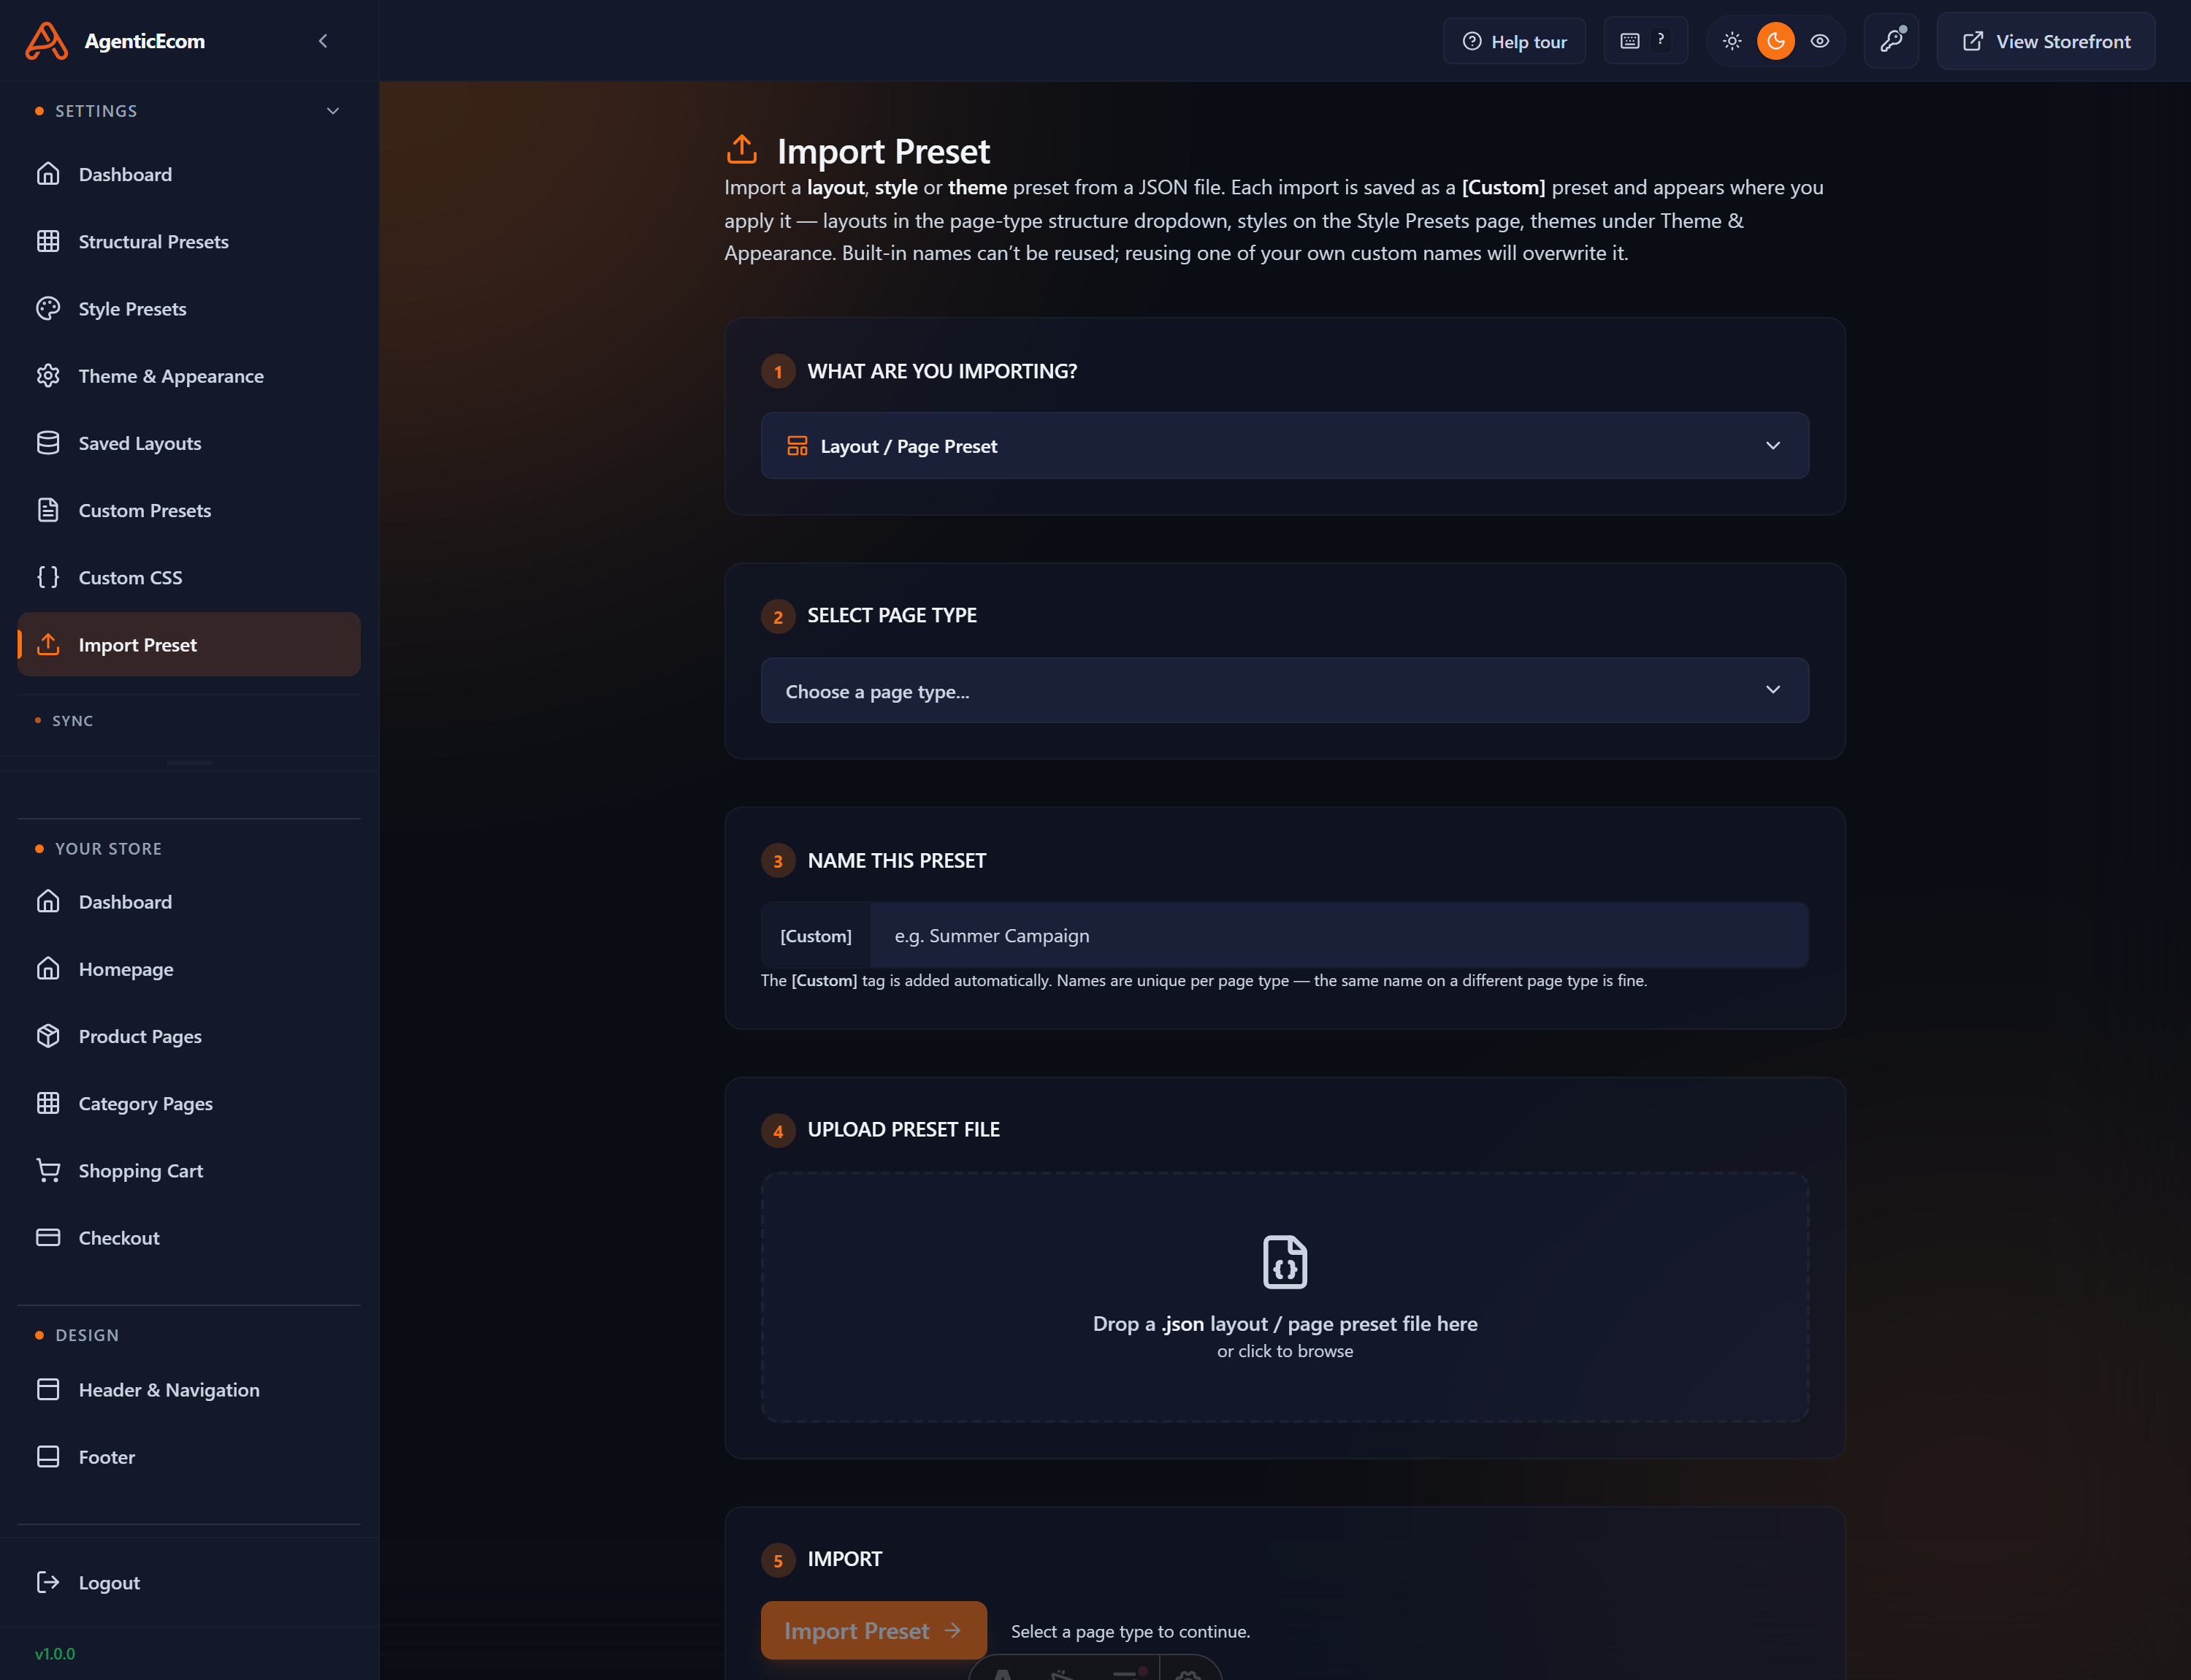
Section titled “Import Preset”Import Preset loads a preset that was exported elsewhere (for example one we sent you, or one you exported from another environment).
-
Open Import Preset.
-
Upload or paste the exported preset.
-
It appears under Custom Presets; activate / apply it when you’re ready, then Prebuild.